Showing posts with label everlandfoods. Show all posts

Sunday, 15 February 2015

VEGAN DOUBLE CHOCOLATE CUPCAKES WITH BUTTERCREAM FROSTING

Valentines day is kinda dorky but it gives me a reason to bake something good. This valentines day I decided to bake some cupcakes. AS PER USUAL. Because I am a cupcake fanatic if you haven't already noticed. This was my first attempt at buttercream frosting and I was soooo pleased! I need to get a good icing bag to make my cupcakes look professional now. This icing is the perfect recipe for decorative cakes or any baked good. I added some beet powder to make the icing pink for valentines. Its a great natural way to color your food and its good for you! Vegan food coloring is seriously hard to find in Victoria. The double chocolate cupcakes were an extra sweet treat for my boyfriend for Valentines. Although I think its kind of silly for everyone to celebrate their relationships on one day, I loveeee hearts, flowers, the colors pink and red because they are cute everyday of the year... Just like my boyfriend hehe. Anyways, these are some seriously sweet cupcakes so if you have a sweet tooth or you're a lover of chocolate you will loveee this. It has alot more sugar than my baked goods usually do but whatever! Its valentines day, celebrate with some sugar. 


VEGAN DOUBLE CHOCOLATE CUPCAKES WITH BUTTERCREAM FROSTING

Cupcake recipe
1 1/2 cups unbleached organic white flour
1 teaspoon baking powder
1/2 teaspoon baking soda
Pinch of sea salt
3 tablespoons cocoa powder
1/3 cup of Enjoy Life vegan mega chocolate chunks (link attached)
1/4 cup earth balance, melted
1/2 cup turbinado sugar
1 teaspoon vanilla
1 cup everland organic coconut milk  (link attached)       


Buttercream frosting recipe
1/2 cup earth balance, melted
2 cups wholesomesweeteners organic powdered sugar (link attached)
1 tablespoon vanilla extract
1 1/2 teaspoons beet powder


Steps
Makes 12


Preheat your oven to 350F. In a large bowl begin by adding all your dry ingredients. Flour through chocolate chips. Stir together all the ingredients well with a fork. Make sure there is no lumps in the mixture. In a medium sized bowl combine your butter, sugar, vanilla and coconut milk. Stir together well with a fork until everything is well combined. Make a well in the middle of your dry mix to add the wet mix too. Pour the wet mix in, stirring while combining. You should be using a large spoon to mix it now or an electric mixer. Once all ingredients are well combined it should be like the consistency of pancake batter. Prepare a muffin baking tray with either liners or oiled. Take one big spoon full and place into a muffin slot. The batter should be about 2/3 full. Repeat 12 times and place in the oven. Bake for 18 minutes. 
Once your cupcakes are ready take them out of the oven. You can stab them with a toothpick to make sure they are done but mine were perfect after 18 minutes. Remove from tray and place on a large plate to cool down. Time for frosting!!


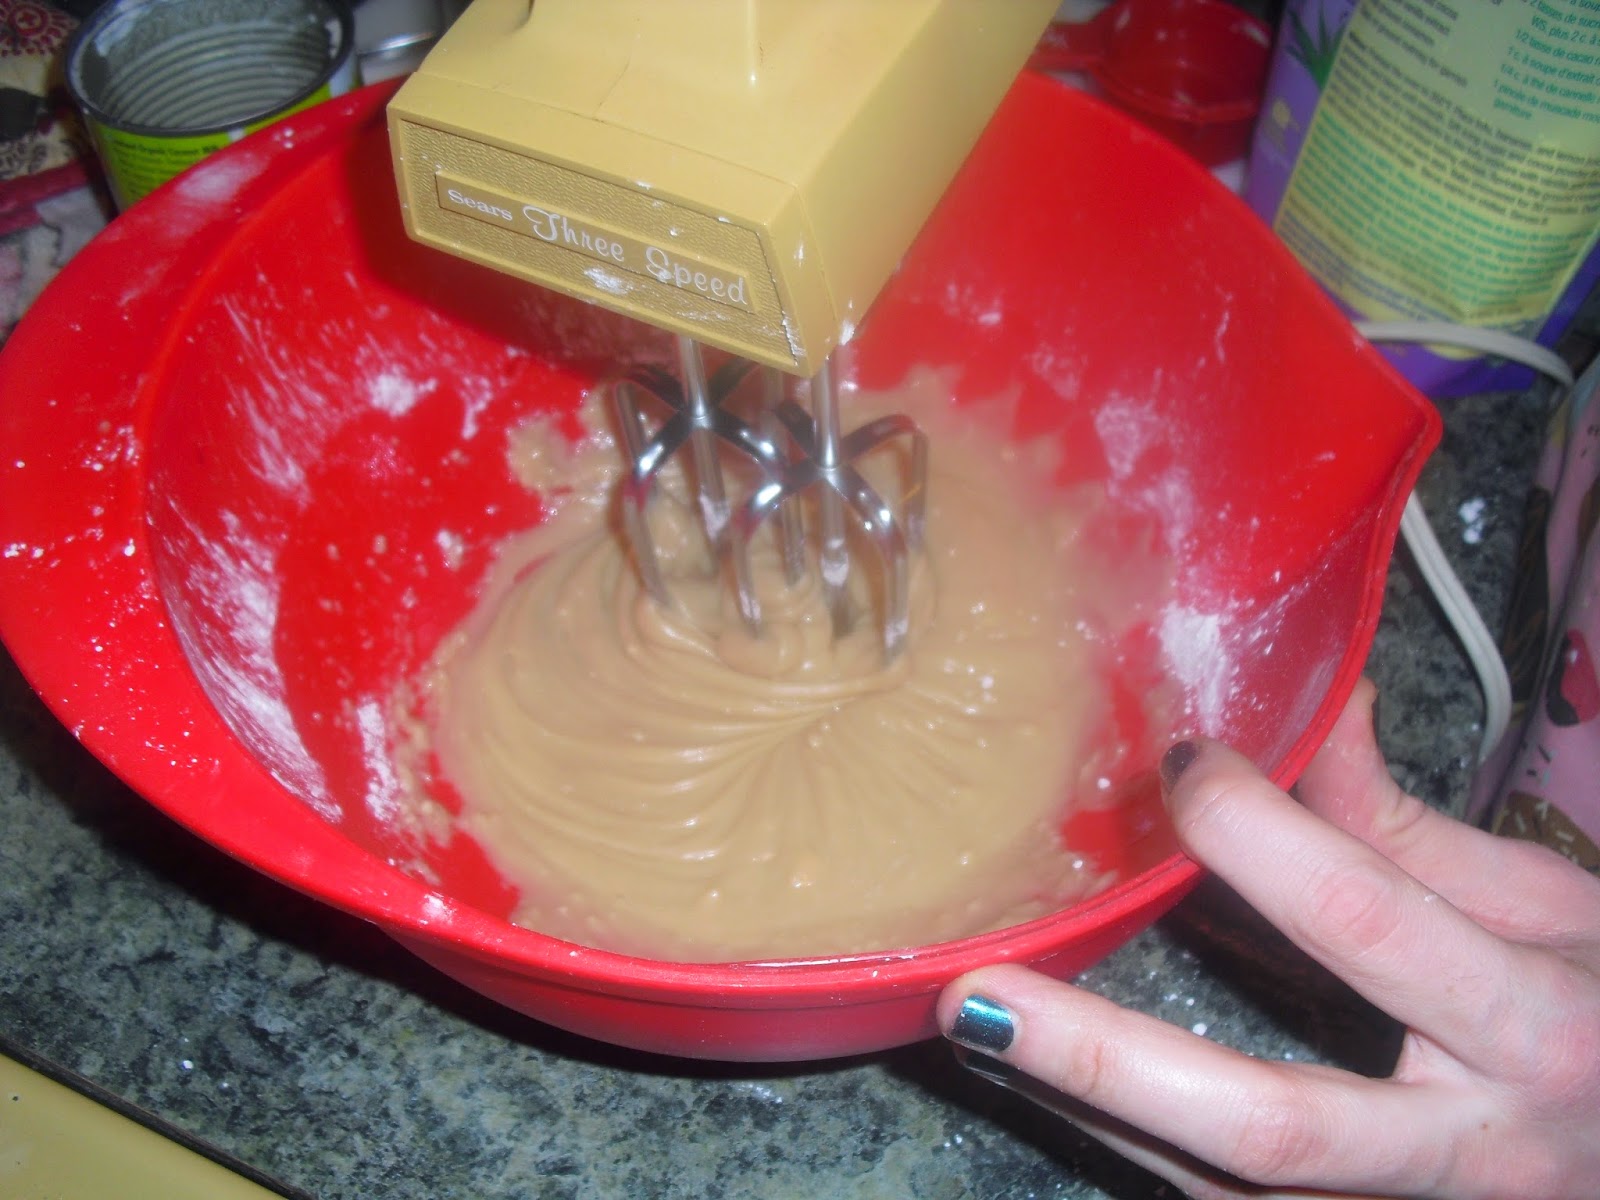
To make the frosting you'll need an electric mixer. I have an old handheld one and it worked perfect! First you'll want to melt your butter. Add your melted butter to a medium sized bowl. Add your vanilla. Begin to add your powdered sugar, 1/2 cup at a time. Start to mix it using your mixer and continue to add the rest of your sugar while mixing it.


 Keep beating your frosting for 4 minutes. It should be a good, thick, creamy texture by now. If its not, keep mixing. If its too thick you can add some coconut milk 1 teaspoon at a time. Once the consistency is right you can sprinkle in your beet powder. Continue mixing while adding the powder. Beat for another 2 minutes. 


Once all your beet powder is well combined and your icing is a nice pink color you can throw it in the fridge. If you are using an icing bag, place your icing into the bag then place it in the fridge until your cupcakes are ready to be frosted. Allow your cupcakes to cool for 10-15 minutes before icing them. This should make the perfect amount of frosting for this recipe. Ice your cupcakes then serve! These will rock your world. 


Wednesday, 14 January 2015

VEGAN SUSHI ROLLS (without a bamboo mat)

VEGAN SUSHI ROLLS
Sushi is such an easy thing to make vegan.  Its great for having people over because you can make tons for so cheap. Its easy to make lots of different kinds and just an all around awesome meal. It takes a bit of practice to get the rolling part right but there's tools you can use to make it easier! Personally I just always use my hands but my little sister uses this. Its a sushi bamboo rolling mat. Theres a link attached if you want to buy one check them out. As well as a picture below. It works awesome and makes your rolls really perfect. Plus you can make rolls with rice on the outside and seaweed in the middle which is pretty hard to do when you don't have one. There's so many great ingredients you can use in a sushi roll. Heres a list; cucumber, carrot, celery, avocado, tofu, yam tempura,  ginger,  garlic, seitan piece's, bell peppers, onion, spinach, lettuce, thats the most I can think of but I bet theres more! I love all of the San J gluten free sauces. The soy sauce they make is perfect. I also love using everland sweet and sour sauce!! Its by far my favourite organic sweet and sour sauce ever! Theres a link to both companies websites attached to their names if you want to check them out. Heres my quick easy steps for making sushi.


Rinse your sushi rice in a strainer until the water runs clear. About 1 to 2 minutes. In a medium sized pot combine your water and rice. The measurements are a little different for sushi rice. It should be about 1 cup to 1 and 1/4 cup of water. Anymore than that and your sushi rice turns into sushi dough. Place a lid on your pot and allow it to come to a boil on med-high heat. Once it starts to bubble turn down to min. heat. Allow to cook for around 15-20 minutes. You can add 1 teaspoon of sesame oil and 1 tablespoon of soy sauce to the water. It really adds to the flavour of your rice. Once all the water is absorbed and your rice is hot and sticky you can remove it from heat and give it a good stir. Now that thats cooling its time to do the fixings! This part is totally up to you! You can do whatever you want with it. Remember not to overstuff them too much or you'll have a hard time rolling them. Also remember to cut your vegetables long and thin so they fit better inside your roll when cutting pieces off. Fry up your tofu in your choice of stir fry sauce. Prepare a clean area to roll your sushi.


To roll your sushi without a mat you need to place a seaweed wrap on your cutting board. Place one big spoon full of rice onto your wrap. Flatten it out with a spoon. This makes it a lot easy to roll it. Make sure your rice is right to each side of the sushi wrap or they won't cut up into pieces very well. Place your ingredients in the middle and begin to roll from the side closest to you. Pinch tight with your fingers begin to roll the roll against the cutting board or plate. Its kind of like rolling burritos but without the sides folding in. Heres an example,


Just make sure you start by turning the end into the middle very tight and continue that motion till the entire thing is rolled. 
Use cold water to seal up the edges. Dip your fingers in cold water and rub the ends of the sushi wrap to form it together. 
Once thats ready you can slice up your sushi to serve!
This is my recipe for these rolls.

Recipe
2 cups sushi rice = 6 rolls
2 carrots, sliced thin and long
3 celery stalks, sliced thin and long
half a cucumber. sliced thin and long
half a red pepper, sliced thin and long
half a container of soyganic tofu, fried
Everland sweet n sour sauce
San J Soy sauce for dipping. 


I love dripping some sauce into the inside of the roll. It makes your rolls look extra fancy. 


 This is a picture of my yam tempura! I haven't posted the recipe yet but I thought I'd give you a sneak peek! Stay tuned if you want the recipe!