Showing posts with label 2015. Show all posts

Sunday, 15 February 2015

VEGAN DOUBLE CHOCOLATE CUPCAKES WITH BUTTERCREAM FROSTING

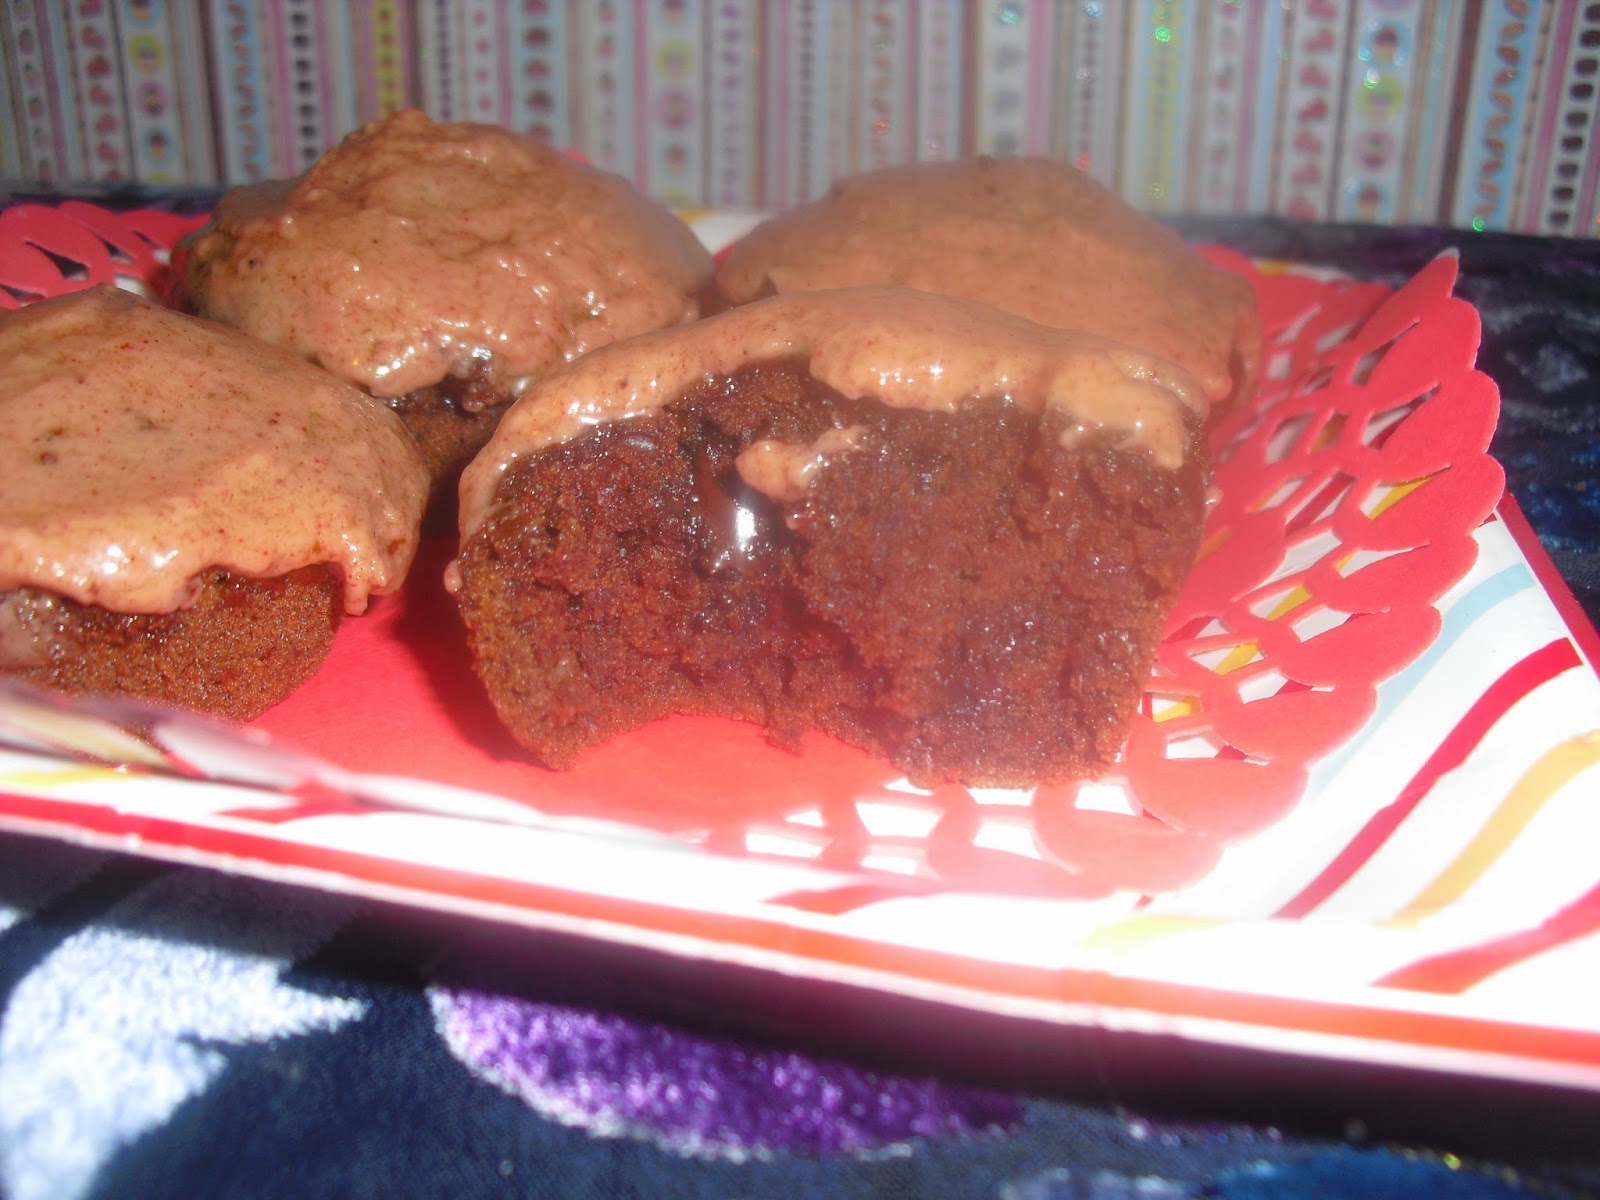
Valentines day is kinda dorky but it gives me a reason to bake something good. This valentines day I decided to bake some cupcakes. AS PER USUAL. Because I am a cupcake fanatic if you haven't already noticed. This was my first attempt at buttercream frosting and I was soooo pleased! I need to get a good icing bag to make my cupcakes look professional now. This icing is the perfect recipe for decorative cakes or any baked good. I added some beet powder to make the icing pink for valentines. Its a great natural way to color your food and its good for you! Vegan food coloring is seriously hard to find in Victoria. The double chocolate cupcakes were an extra sweet treat for my boyfriend for Valentines. Although I think its kind of silly for everyone to celebrate their relationships on one day, I loveeee hearts, flowers, the colors pink and red because they are cute everyday of the year... Just like my boyfriend hehe. Anyways, these are some seriously sweet cupcakes so if you have a sweet tooth or you're a lover of chocolate you will loveee this. It has alot more sugar than my baked goods usually do but whatever! Its valentines day, celebrate with some sugar. 


VEGAN DOUBLE CHOCOLATE CUPCAKES WITH BUTTERCREAM FROSTING

Cupcake recipe
1 1/2 cups unbleached organic white flour
1 teaspoon baking powder
1/2 teaspoon baking soda
Pinch of sea salt
3 tablespoons cocoa powder
1/3 cup of Enjoy Life vegan mega chocolate chunks (link attached)
1/4 cup earth balance, melted
1/2 cup turbinado sugar
1 teaspoon vanilla
1 cup everland organic coconut milk  (link attached)       


Buttercream frosting recipe
1/2 cup earth balance, melted
2 cups wholesomesweeteners organic powdered sugar (link attached)
1 tablespoon vanilla extract
1 1/2 teaspoons beet powder


Steps
Makes 12


Preheat your oven to 350F. In a large bowl begin by adding all your dry ingredients. Flour through chocolate chips. Stir together all the ingredients well with a fork. Make sure there is no lumps in the mixture. In a medium sized bowl combine your butter, sugar, vanilla and coconut milk. Stir together well with a fork until everything is well combined. Make a well in the middle of your dry mix to add the wet mix too. Pour the wet mix in, stirring while combining. You should be using a large spoon to mix it now or an electric mixer. Once all ingredients are well combined it should be like the consistency of pancake batter. Prepare a muffin baking tray with either liners or oiled. Take one big spoon full and place into a muffin slot. The batter should be about 2/3 full. Repeat 12 times and place in the oven. Bake for 18 minutes. 
Once your cupcakes are ready take them out of the oven. You can stab them with a toothpick to make sure they are done but mine were perfect after 18 minutes. Remove from tray and place on a large plate to cool down. Time for frosting!!


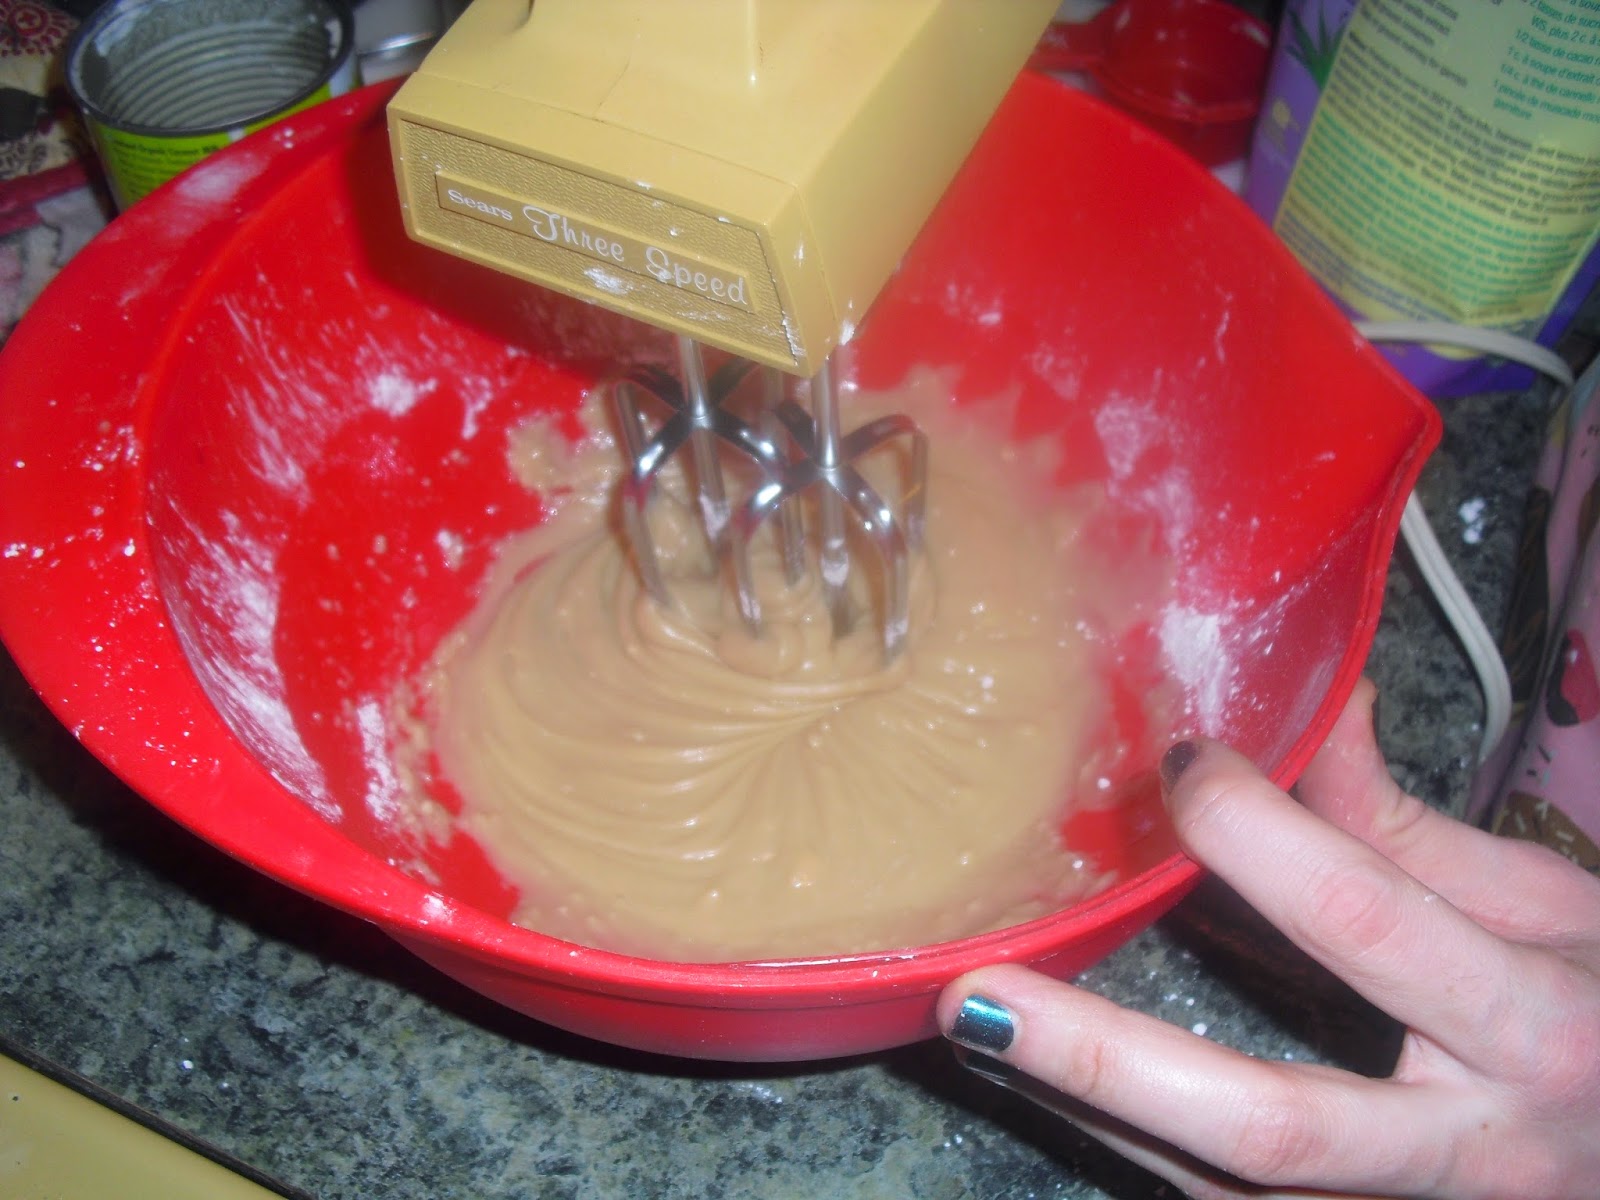
To make the frosting you'll need an electric mixer. I have an old handheld one and it worked perfect! First you'll want to melt your butter. Add your melted butter to a medium sized bowl. Add your vanilla. Begin to add your powdered sugar, 1/2 cup at a time. Start to mix it using your mixer and continue to add the rest of your sugar while mixing it.


 Keep beating your frosting for 4 minutes. It should be a good, thick, creamy texture by now. If its not, keep mixing. If its too thick you can add some coconut milk 1 teaspoon at a time. Once the consistency is right you can sprinkle in your beet powder. Continue mixing while adding the powder. Beat for another 2 minutes. 


Once all your beet powder is well combined and your icing is a nice pink color you can throw it in the fridge. If you are using an icing bag, place your icing into the bag then place it in the fridge until your cupcakes are ready to be frosted. Allow your cupcakes to cool for 10-15 minutes before icing them. This should make the perfect amount of frosting for this recipe. Ice your cupcakes then serve! These will rock your world. 


Friday, 30 January 2015

VEGAN PIEROGIES W/ COCONUT BACON BITS

Happy end of Veganuary! I hope lots of people gave it a shot  and hopefully some of them decided to stay that way. It's so important for your body to eat healthy and you really make less of an impact on our beautiful world by doing so. Being vegan is good for the mind, body and soul. If you're eating healthier then your body is working better. Who wouldn't want that?!  I know for a lot of people they can't behind the whole "animals have feelings too" so why not look at it as a better way to treat your precious body. You only live once so take care of yourself! Anyways, I made pierogies!!! They were way too good. Tastes so traditional and boy, did I ever crave pierogi after my veganism. They are so nostalgic for me.  A weekly meal in our house as a child. I've never had homemade ones before and WOW. Whole different ball game. Ever since I started making this recipe I can't stop. The bacon bits seem so real! I was a little hesitant trying just shreds of coconut to make bacon but I swear by it now. So much cheaper and healthier than store bought bacon bits or some faux meats as well. This recipe is a little bit time-consuming but so worth it! So grab a tub of Tofutti sour cream (there's a link attached) and dig in! Enjoy.

VEGAN PIEROGIES WITH COCONUT BACON BITS


Recipe

For filling
6 potatoes, yellow preferably, boiled and mashed
4 stalks of green onion chopped
2 tablespoons earth balance buttery spread (link attached)
4 tablespoons silk cashew milk (link attached)
1/2 teaspoon sea salt
1 teaspoon paprika
dash of pepper
Daiya cheese of your choice (link attached)

For bacon bits
1/2 cup lets do it organic unsweetened coconut flakes (link attached)
1 1/2 teaspoons vegan Worcestershire sauce (link attached)
2 teaspoon soy sauce
6 drops liquid smoke
1 tablespoon canola oil

For dough
3 cups flour, unbleached
1 cup warm water
3 tablespoons canola oil + some for frying the pierogi
1 teaspoon salt

Steps


To make your coconut bacon, which is what I usually bang out first because it's so quick and easy. You will need a small bowl to mix all your ingredients in and a small frying pan on medium heat with 1 tablespoon of canola oil. Put your coconut flakes into a small bowl. I usually crush them up in my hand first to make them more like bacon bits. It works great! Add your Worcestershire sauce, soy sauce and liquid smoke. Stir everything together well with a fork. Once your pan is hot, add your coconut bacon. Allow to fry for 4-5 minutes or until desired texture. They can burn! So make sure you keep an eye on it. 
Fill a big pot up with water and a dash of salt. This is for boiling your potato make sure it's over half full. Add a dash of salt. Turn onto to medium-high heat to bring to a boil. Place the lid on top. Peel and wash your potatoes. Cut them up into quarters and soak in water for 5 minutes. This helps get the starch out. Add to the boiling water and let boil until soft. once they are soft enough to poke through with a fork drain the water. Add your ingredients then mash the potatoes.  Add your coconut bacon. Let them cool.

This gives you the perfect opportunity to make the dough. In a large bowl add the water and canola oil.  Add 2 cups flour and begin to mix in with a fork. It should be nice and soft and have an elastic kinda texture. Once your ball of dough has formed begin to knead it with your hands. Your dough shouldn't be sticky so slowly add your one cup of remaining flour. Transfer to a clean, lightly floured counter space. Begin to knead the rest of your flour into your dough and continue kneading for 5 minutes. Roll your dough out into a large rectangular shape. It should be about a 1/4 of an inch thick. I usually use my measurement cup or a mug to cut out the pierogies. They should be about 2-2 1/2 inches across. Repeat this step until all your dough is gone. It should make 15. 
Bring a large pot to a boil with 6 cups of water. Add a dash of salt and oil. This is to boil your pierogies in. Make sure your potato filling is cool before beginning to fill your pierogies. Take one small piece of your choice of Daiya cheese (I used cheddar) and 1 1/2 tablespoons of your filling. Place it into the center of your pierogi dough. Fold one side over and begin to pinch the sides together with your fingers. I usually use two fingers to curl the top of the dough around to make them look authentic and seal them together well.


You can use a fork if you're more comfortable with that. Add your pierogi to the boiling water. Repeat this to the rest of your dough. You should be boiling 4 pierogies at a time. Boil them for around 3-4 minutes or until they float.


Now some people love their pierogies boiled or baked but this recipe is fried! It really makes them taste restaurant quality and the texture is great. So if you're into it, prepare a small frying pan with some canola oil on medium-high heat to fry your pierogies. Remove them from the water once they are ready and let the water drip from them until all excess water is gone. Add to your prepared frying pan. Fry for 4 minutes on both sides. Repeat until all pierogies are finished. Cut up some fresh green onions and serve it up with some Tofutti sour cream and voila :) I can guarantee anyone will love these pierogies.


Enjoy. 

Thursday, 1 January 2015

VEGAN SEITAN ROAST STUFFED WITH MACARONI

Happy new year! Theres nothing better than starting a new year. It always feels great to  shake off all the bad times and start fresh! I always make  a lot of goals when the year starts too. This year I'm really hoping to start writing my own cookbook and get really into my baked goods. Hopefully by this time next year you'll be able to buy something of mine in a local grocery store! Amongst all that I have a million plans for my boyfriend and I. Overall I'm really excited for 2015. 

So for Christmas I thought I'd go a little crazy and make something I never have before.  Its my own creation.
A combination of my pinto bean seitan roast and my coconut cream mac n cheese! (There's a link attached to the recipes) Unfortunately theres not going to be any point in making an entire recipe and step by step post for this because it's identical to those two recipes.  However I can post pictures and tips!! This roast was absolutely insane and by far my favourite christmas dinner ever. Its most definitely good for any day of the week! 
Enjoy!


You can follow the steps just like the ones in my other recipe. Just be careful not to over stuff your roast so you can wrap it up nice and tight. Cut the macaroni recipe in half in order to make the right amount.          


           Roll your seitan roast out. Scoop your macaroni on top about 3/4 of the seitan roast. Make sure you leave about 1 1/2 inches of just seitan on the side opposite to you. This is what you'll use to pinch it shut. Begin to roll the roast starting with the side closest to you. Roll it gently but tight making sure macaroni stays in. Roll in up in foil, twist the ends and bake!