Showing posts with label daiya. Show all posts

Friday, 30 January 2015

VEGAN PIEROGIES W/ COCONUT BACON BITS

Happy end of Veganuary! I hope lots of people gave it a shot  and hopefully some of them decided to stay that way. It's so important for your body to eat healthy and you really make less of an impact on our beautiful world by doing so. Being vegan is good for the mind, body and soul. If you're eating healthier then your body is working better. Who wouldn't want that?!  I know for a lot of people they can't behind the whole "animals have feelings too" so why not look at it as a better way to treat your precious body. You only live once so take care of yourself! Anyways, I made pierogies!!! They were way too good. Tastes so traditional and boy, did I ever crave pierogi after my veganism. They are so nostalgic for me.  A weekly meal in our house as a child. I've never had homemade ones before and WOW. Whole different ball game. Ever since I started making this recipe I can't stop. The bacon bits seem so real! I was a little hesitant trying just shreds of coconut to make bacon but I swear by it now. So much cheaper and healthier than store bought bacon bits or some faux meats as well. This recipe is a little bit time-consuming but so worth it! So grab a tub of Tofutti sour cream (there's a link attached) and dig in! Enjoy.

VEGAN PIEROGIES WITH COCONUT BACON BITS


Recipe

For filling
6 potatoes, yellow preferably, boiled and mashed
4 stalks of green onion chopped
2 tablespoons earth balance buttery spread (link attached)
4 tablespoons silk cashew milk (link attached)
1/2 teaspoon sea salt
1 teaspoon paprika
dash of pepper
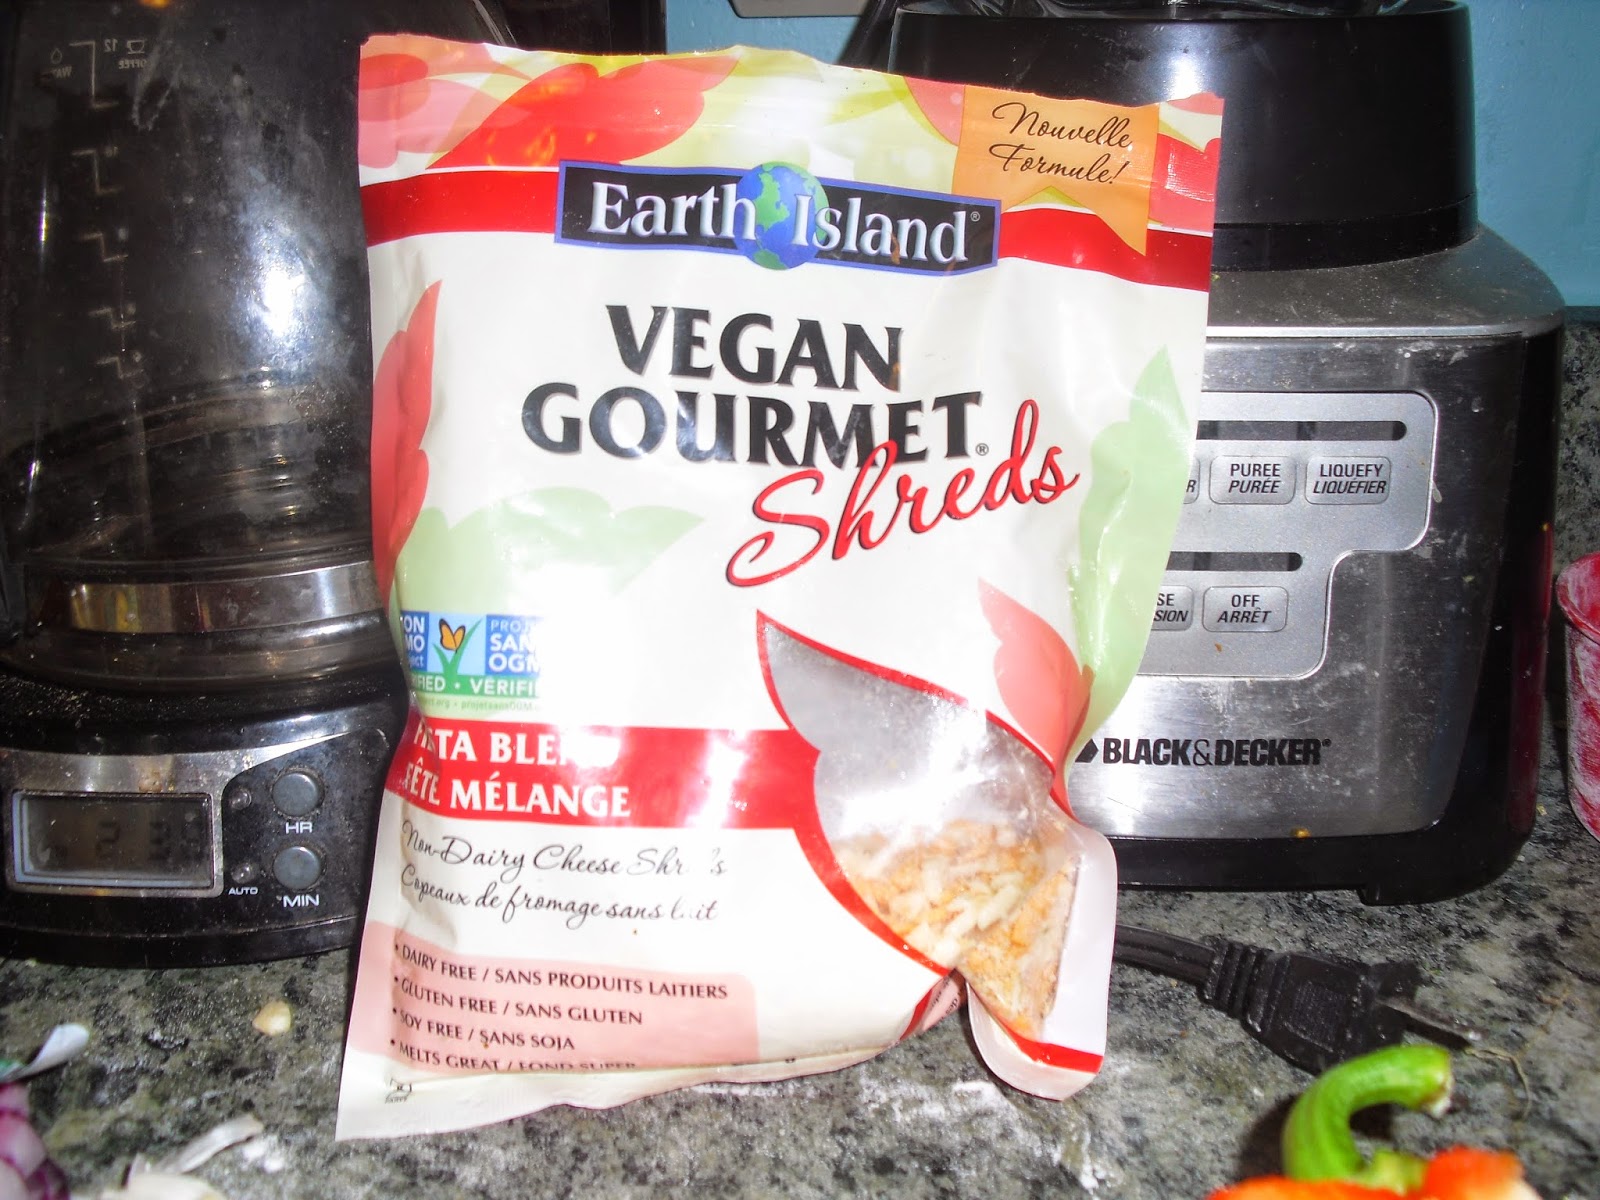
Daiya cheese of your choice (link attached)

For bacon bits
1/2 cup lets do it organic unsweetened coconut flakes (link attached)
1 1/2 teaspoons vegan Worcestershire sauce (link attached)
2 teaspoon soy sauce
6 drops liquid smoke
1 tablespoon canola oil

For dough
3 cups flour, unbleached
1 cup warm water
3 tablespoons canola oil + some for frying the pierogi
1 teaspoon salt

Steps


To make your coconut bacon, which is what I usually bang out first because it's so quick and easy. You will need a small bowl to mix all your ingredients in and a small frying pan on medium heat with 1 tablespoon of canola oil. Put your coconut flakes into a small bowl. I usually crush them up in my hand first to make them more like bacon bits. It works great! Add your Worcestershire sauce, soy sauce and liquid smoke. Stir everything together well with a fork. Once your pan is hot, add your coconut bacon. Allow to fry for 4-5 minutes or until desired texture. They can burn! So make sure you keep an eye on it. 
Fill a big pot up with water and a dash of salt. This is for boiling your potato make sure it's over half full. Add a dash of salt. Turn onto to medium-high heat to bring to a boil. Place the lid on top. Peel and wash your potatoes. Cut them up into quarters and soak in water for 5 minutes. This helps get the starch out. Add to the boiling water and let boil until soft. once they are soft enough to poke through with a fork drain the water. Add your ingredients then mash the potatoes.  Add your coconut bacon. Let them cool.

This gives you the perfect opportunity to make the dough. In a large bowl add the water and canola oil.  Add 2 cups flour and begin to mix in with a fork. It should be nice and soft and have an elastic kinda texture. Once your ball of dough has formed begin to knead it with your hands. Your dough shouldn't be sticky so slowly add your one cup of remaining flour. Transfer to a clean, lightly floured counter space. Begin to knead the rest of your flour into your dough and continue kneading for 5 minutes. Roll your dough out into a large rectangular shape. It should be about a 1/4 of an inch thick. I usually use my measurement cup or a mug to cut out the pierogies. They should be about 2-2 1/2 inches across. Repeat this step until all your dough is gone. It should make 15. 
Bring a large pot to a boil with 6 cups of water. Add a dash of salt and oil. This is to boil your pierogies in. Make sure your potato filling is cool before beginning to fill your pierogies. Take one small piece of your choice of Daiya cheese (I used cheddar) and 1 1/2 tablespoons of your filling. Place it into the center of your pierogi dough. Fold one side over and begin to pinch the sides together with your fingers. I usually use two fingers to curl the top of the dough around to make them look authentic and seal them together well.


You can use a fork if you're more comfortable with that. Add your pierogi to the boiling water. Repeat this to the rest of your dough. You should be boiling 4 pierogies at a time. Boil them for around 3-4 minutes or until they float.


Now some people love their pierogies boiled or baked but this recipe is fried! It really makes them taste restaurant quality and the texture is great. So if you're into it, prepare a small frying pan with some canola oil on medium-high heat to fry your pierogies. Remove them from the water once they are ready and let the water drip from them until all excess water is gone. Add to your prepared frying pan. Fry for 4 minutes on both sides. Repeat until all pierogies are finished. Cut up some fresh green onions and serve it up with some Tofutti sour cream and voila :) I can guarantee anyone will love these pierogies.


Enjoy. 

Friday, 9 January 2015

VEGAN "EGG MCMUFFINS"

I know most vegans aren't exactly craving mcmuffins. This is an awesome quick breakfast to make and why not make a better recipe for all those who are craving mcmuffins! Its a way healthier alternative.You could fry up some tempeh bacon or tofurkey links too. They taste amazing in the sandwich. This is my favourite breakfast to make on my days off. Its easy to change the spices up according to your taste. I personally think this is the best way to make them look like real scrambled eggs. Something I still miss and I'm sure some of you miss them too. This is my fix and I hope it'll be yours too! 


VEGAN EGG MCMUFFINS


RECIPE
1 package of soyganic tofu
1/4 white onion, diced
3 cloves garlic
2 mushrooms, diced
1 tablespoon olive oil
1/2 teaspoon salt
2 tablespoons nutritional yeast
1 teaspoon turmeric
1/2 teaspoon cumin 
1 teaspoon curry 
1/2 teaspoon pepper
daiya onion and chives vegan cream cheese
2 english muffins


STEPS
Add one tablespoon of olive oil to a medium size frying pan. Turn up to medium heat and add a dash of salt. Allow to heat up for a couple minutes. Put a small slit in the top of your tofu container and drain the water out. Remove the seal and mash up your tofu with a fork. Once the entire thing is broken up evenly add it to your heated pan with a spatula. Distribute the tofu evenly in the pan. Begin cutting up your veggies, garlic first. Add all your vegetables to the pan. Stir all the ingredients together. Allow to fry for 5 minutes. Add all your spices, nutritional yeast to pepper. Stir all ingredients together. Allow to fry for another 15-20 minutes. All the water from the tofu should be absorbed. It should look like this!


Toast your english muffins and spread some daiya cream cheese on each side. You can slice up a tomato as well. Scoop out a large spoonful of your "scrambled eggs" and spread it on your english muffin. Use half for each sandwich and that way you can eat some on the side!
Breakfast is served!


Sunday, 4 January 2015

VEGAN GF FETTUCCINE ALFREDO SAUCE

I love pasta. Big time. Its one of the easiest meals to convert to vegan. With so many differents kinds of faux vegan meats on the market you can barely tell the difference. I've had meat eating friends tell me they actually prefer eating vegan meat sometimes because there is more of a variety! The world is a beautiful place now. Even though when you go out to have a pasta date night they charge you through the roof for small portion, they never put enough sauce and then you realize its noodles boiled in water and you feel stupid for paying 20 bucks each. That's why I never go out for pasta dinner because its 100 times better homemade. You can spice it according to your taste and so much more cost effective. A big bag of cheap pasta is $2.50. A medium sized bag of organic pasta is like 5 bucks maybe 6 tops. You make way more and leftovers are the best!  It took me a while to try and find a good base for my alfredo. Something that would give it a really good, thick texture. My boyfriend brought home ground almonds and it was a winner!  It really helps make your sauce smooth and not clumpy. The garbanzo bean flour adds a lot of flavour as well as thickens the sauce too. Its a perfect combo for a sticky thick alfredo. Of course,  the sauce would never be the same without daiya onion n chives vegan cream cheese. I love this company. Founded in Vancouver, BC, Canada. It makes your transition to veganism virtually effortless because everything they make is so good. You can pretty much find it in every grocery store now. Even superstore! So check them out if you havent already.


Vegan gluten free alfredo sauce
1/2 container daiya onion and chives vegan cream cheese
2 teaspoons garlic powder
2 teaspoons pepper
Dash of salt
Dash of chili spice
1 cup nutritional yeast
1 can of coconut cream
1 tablespoon earth balance buttery spread
1/4 cup Garbanzo bean flour
1/4 cup ground almond flour


Steps

Begin with a medium sized pot. Add your coconut milk and set to low-med heat. Let it warm up until it's bubbling just a little. If its boiling turn it down and let it cool before adding ingredients. Add all ingredients, stirring with a fork while adding. Turn to min heat and allow to simmer. This helps the sauce get thick. If its too thin you can add tablespoons of almond flour one at a time. Allow your sauce to thicken for 10 to 15 minutes.  This leaves the perfect amount of time for you to cook your fettuccine.


*couple of tips for pasta noodles
   Add salt to your water
   Add 1 tablespoon of olive oil
   Sprinkle a bunch of nutritional yeast on the noodles

My boyfriend and I decided to fry up some tofurkey spinach pesto sausage as well. Its the perfect addition to make the ultimate vegan pasta dish.
Serve your sauce over the fettuccine and add your tofurkey.
Viola.
Fettuccine alfredo just like you remembered.


Theres links attached for all the awesome vegan products here if you want to go check it out.


Thursday, 2 October 2014

VEGAN CALZONES

VEGAN CALZONES

Veganmofo month has come to an end and I loved it! I can definitely say I will be doing it next year and I will be getting much more detailed in my posts! I got 800 views just in the month of September so thanks to everyone who liked or shared my blog :) Calzones are so expensive to buy and so easy to make! I bought a new kind of flour that has made my pizza crust 10x better. Its called caputo flour. A local vegan friendly pizza restaurant, FAMOSO here uses it and they are the best pizzas you can get in Victoria! Really authentic italian. Here's a picture of the store bought kind I got


Its much lighter and fluffier. Alot easier to knead the dough. Its really good for throwing in the air to thin it too. I highly recommend trying this pizza dough if you're really into baking like me:)  Here's my recipe for Vegan Calzones. I hope you enjoy them!

RECIPE
makes 2 calzones


Dough:
3 cups flour
1 cup warm water
1 package instant yeast
1 teaspoon salt
handful of fresh thyme
1 1/2 teaspoons rosemary
1 1/2 garlic powder
1 tablespoon olive oil


Filling:
Old newmans honey garlic barbecue sauce
3 cloves garlic, minced
1/2 purple onion, diced
6 manzanilla olives, sliced
1 can of corn, drained
handful of artichoke hearts, chopped
1/2 orange pepper, diced
1/2 package of yves ground chicken
Your choice of vegan cheese


Me and my boyfriend got to try this new kind it rules!!!


STEPS
Preheat your oven to 400 F
Get one cup of warm water in a measuring cup and sprinkle your yeast on top. Be careful to make sure your water isn't too warm or it'll kill your yeast. Let the yeast stand in water for 10 minutes.
While your yeast is mixing you can combine all your dry ingredients in a large bowl for your dough. Mix together well and create a well in the middle. Add your yeast water mixture and your olive oil and begin to mix together to form dough. Once your dough is formed begin to knead fro 10 minutes. The longer you knead your dough the better. Cover and let stand at room temperature for 30 minutes. 
While your dough is rising you can prepare all your vegetables. My boyfriend and I made ours with bbq sauce but this recipe would work great with tomato paste! The nice thing about calzones is you can put anything you want inside!
Fry your chicken for 5 minutes before you put them into your calzone. I added a couple drops of liquid smoke to make mine even better. 

Once your dough has risen for 30 minutes it should be about double in size. If its not let it rise longer! Knead your dough for ten minutes and split into two equal halves. 
Roll out your dough on a lightly floured surface, nice and thin. It should be about a 1/4 inch thick. Its easier to make the calzones if you roll your dough into a rectangle rather than a circle. Once you've reached your desired size you can begin to add your toppings starting with the sauce and ending with the cheese. Add your toppings to one side of your dough so you can fold it over and seal it. 


Press the sides with a fork to seal your 
calzone completely. Place on a lightly oiled pan. Rub oil on the outside so the top browns and pop it in the oven. Bake for 20 minutes:) I broiled mine for 5 minutes at the end to make the top perfect. 


Tuesday, 23 September 2014

"CHEEZY" BROCCOLI SOUP

"CHEEZY" BROCCOLI SOUP

Today is the first day of Fall so I figured my soup was a suitable post. Plus we had it for dinner last night haha. It was amazing! First time I've ever made a quick soup and a blended one. This recipe is super filling and healthy as well extremely easy to make. I was really pleased with the way it turned out. Next time I'm making bread bowls.


Recipe
makes 4 servings
4 cloves garlic, minced
1/2 white onion, chopped
4 mushrooms, sliced
2 heads of broccoli
1 head cauliflower
2 celery stalks, chopped
6 red skin potatoes, peeled, cut
2 carrots, sliced
3 cups vegetable broth
2 teaspoons poultry seasoning
handful of fresh thyme
1/2 teaspoon of salt
1 teaspoon chili spice
4 tablespoon nutritional yeast

For the CHEEZE sauce I used the same one that I use for my COCONUT CREAM MAC N CHEESE recipe but I used a whole can of coconut milk instead of a half to make it more creamy. I also add 2 tablespoons of spicy mustard to add to cheezy taste for the recipe. See my recipe:) 
In a large pot add 1 tablespoon of olive oil and turn on to low-med heat. Add your garlic, onion and mushrooms and saute for 5 minutes. Next add your broccoli, cauliflower, celery, carrot and potatoes. Stir together and cook for another 5 minutes. Add your vegetable broth and spices. Bring to a low boil. Once its boiling add your daiya to melt it in. Cook for 15 minutes or until potatoes are soft enough to poke with a fork. 
While that's cooking you'll have time to make your cheeze sauce. 


Once your soup is ready and your potatoes are soft enough its time for blending! Separate your soup into two bowls. *Its way too hard to get the right consistency you blend both at the same time.* Blend the first bowl. I left mine a bit chunky and it was perfect that way. I barely blended it for thirty seconds. If you want yours creamier blend it for longer! This part is totally up to you:) Once you've blended both parts combine them again in your pot and add the entire cheeze sauce to the soup. Stir together really well!!

ENJOY!


Tuesday, 16 September 2014

VEGAN QUICHE

VEGAN QUICHE


This was my first attempt at making vegan quiche and it was such a success!! This recipe is amazing. I think the crust could maybe use some work but overall I was pretty pleased. It was even better the next day after we left it in the fridge. It seriously tasted/was the texture of a real quiche. I haven't eaten them in years but I can still remember because they were one of my favourite foods. Its got all the traditional veggies a quiche does and even with a little twist! I added leek and red pepper. Top if with your favorite daiya flavour and viola! Have fun baking my vegan quiche!


RECIPE
makes 1 quiche

For filling:
Olive oil
1 leek, thinly sliced
2 cloves garlic, diced
1/4 purple onion, diced
4 crimini mushrooms, sliced
1/2 tomato, thinly sliced
1/2 red pepper, diced
1/4 cup fresh basil leaves
a big handful of fresh spinach
1 teaspoon salt
1 teaspoon pepper

For tofu:
350g package of organic tofu
4 tablespoons nutritional yeast
5 tablespoons almond milk
1/2 teaspoon salt
1 teaspoon pepper
pinch of turmeric

For crust:
2 cups whole wheat flour
4 tablespoons dried herbs (thyme, basil, oregano)
1 teaspoon black pepper
115ml water
2 tablespoons olive oil


STEPS

Preheat your oven to 350 degrees F. Lightly oil a round glass or tin foil pan. Anything around 20 cm works. First combine all your flour, herbs and pepper. Stir together. Add water then olive oil. Mix together until dough forms. If your dough is too dry add a teaspoon of water. Make a clean, lightly floured area for your dough to be placed on. Next knead your dough for 5 minutes. It should be tough and doughy but not sticky. It should be smooth enough for your to knead and mould though. Roll your dough out. It should be big enough to fit in your pan and create a crust around the outside. Place it in your oiled pan and press the edges lightly with fingers around the sides to form your crust. Make sure its tall enough that its to the top of your pan. Its okay if its not perfect but it needs to fit all your filling! 

Next is your filling. Cut, slice and dice all your vegetables. Get a frying pan and lightly oil with olive oil. Heat to med-low heat. This is to saute your vegetables. Once all your veggie are cut add to the heated pan Add them in order doing the spinach and basil last. Saute for 5 minutes.
 (This recipe is for one I just made two                                                                                                   anyways haha)
Next is your tofu mixture.
Add all ingredients to your blender or food processor and blend until smooth and creamy. Pour the tofu mixture into a bowl. Add your sauteed vegetables to the mixture and stir together well. Pour your mixture into your crust and smooth the top with a spoon so it looks pretty. Sprinkle a handful of daiya on the top. Put in the in oven and bake for 30 minutes or until the top is slightly brown and crispy.
Allow to cool for 10 minutes before serving.

Enjoy:)


Monday, 15 September 2014

CARROT CAKE WITH STRAWBERRY CREAM CHEESE FROSTING

CARROT CAKE
WITH STRAWBERRY
CREAM CHEESE FROSTING

Hello again! Vegan Mofo day 15 and I thought I'd post my carrot cake. I loved carrot cake as a kid and this recipe is just like the non vegan kind I used to have. I did originally just get regular white frosting mix to put on the first cake that you'll see but then I decided to get creative and make my own icing recipe! This recipe is good for making double layered carrot cakes or just two if you have tons of mouths to feed! I tried it both ways because I was decorating my cakes for fun. This is also the most sugar I have used in any of my recipes. If you don't like using alot of sugar in your recipes like me substitute 1/4 cup of your sugar for 2 tablespoons of agave syrup. Its more natural and healthy for you than regular sugar. Its also raw! I hope you like this healthy recipe:) See you mofos later.


CAKE RECIPE

2 1/2 cups unbleached white flour
1 teaspoon baking powder
1 1/2 teaspoon baking soda
2 teaspoons cinnamon
1/2 teaspoon nutmeg
1/2 teaspoon salt
6 tablespoons flax seed, ground
3/4 cup warm water
3/4 cup organic white sugar (there's a link to the sugar I use)
1/4 cup of earth balance buttery spread, melted (theres a link to the butter)
1/4 cup of almond milk(theres a link to the milk)
2 teaspoons vanilla
2 cups carrot, shredded
1 cup walnuts, chopped

FROSTING RECIPE

1 cup of powdered sugar (wholesome sweeteners of course)
1 teaspoon cinnamon
1 teaspoon vanilla
1/4 cup almond milk
1/4 cup earth balance buttery spread
*add cornstarch if your mixture is too runny

STEPS

Preheat your oven to 350. Grease two 8x8 pans with vegan margarine. Shred two cups of carrots. In a small bowl sift together all your dry ingredients (flour to salt). In a larger bowl whisk together your flax seed and warm water. Whisk until its completely mixed in. Add your sugar and oil and beat together well. Next add your shredded carrots and vanilla. Once everything is stirred together you can slowly start to add your dry ingredients. Stir it occasionally while adding. Whisk together until mixture turns into a batter. The consistency should be thin enough so you can pour it off into your pans so if its not runny enough add some more milk! Stir in your walnuts and pour the batter into two equal parts in your prepared pans. Bake for 18-20 minutes.
Now while thats baking you have time to make your frosting. Combine the cream cheese and melted butter with a fork. Stir together well then add the cinnamon, vanilla and almond milk. Beat together until completely mixed together then begin to add your sugar slowly while mixing. Stir together until the mixture becomes light and fluffy. You'll be able to tell when its ready haha. Pop it in the fridge until your cake is ready. Once your cake is ready take its out and test it with a toothpick. Make sure it comes off clean. Let it cool for ten minutes then have fun decorating!
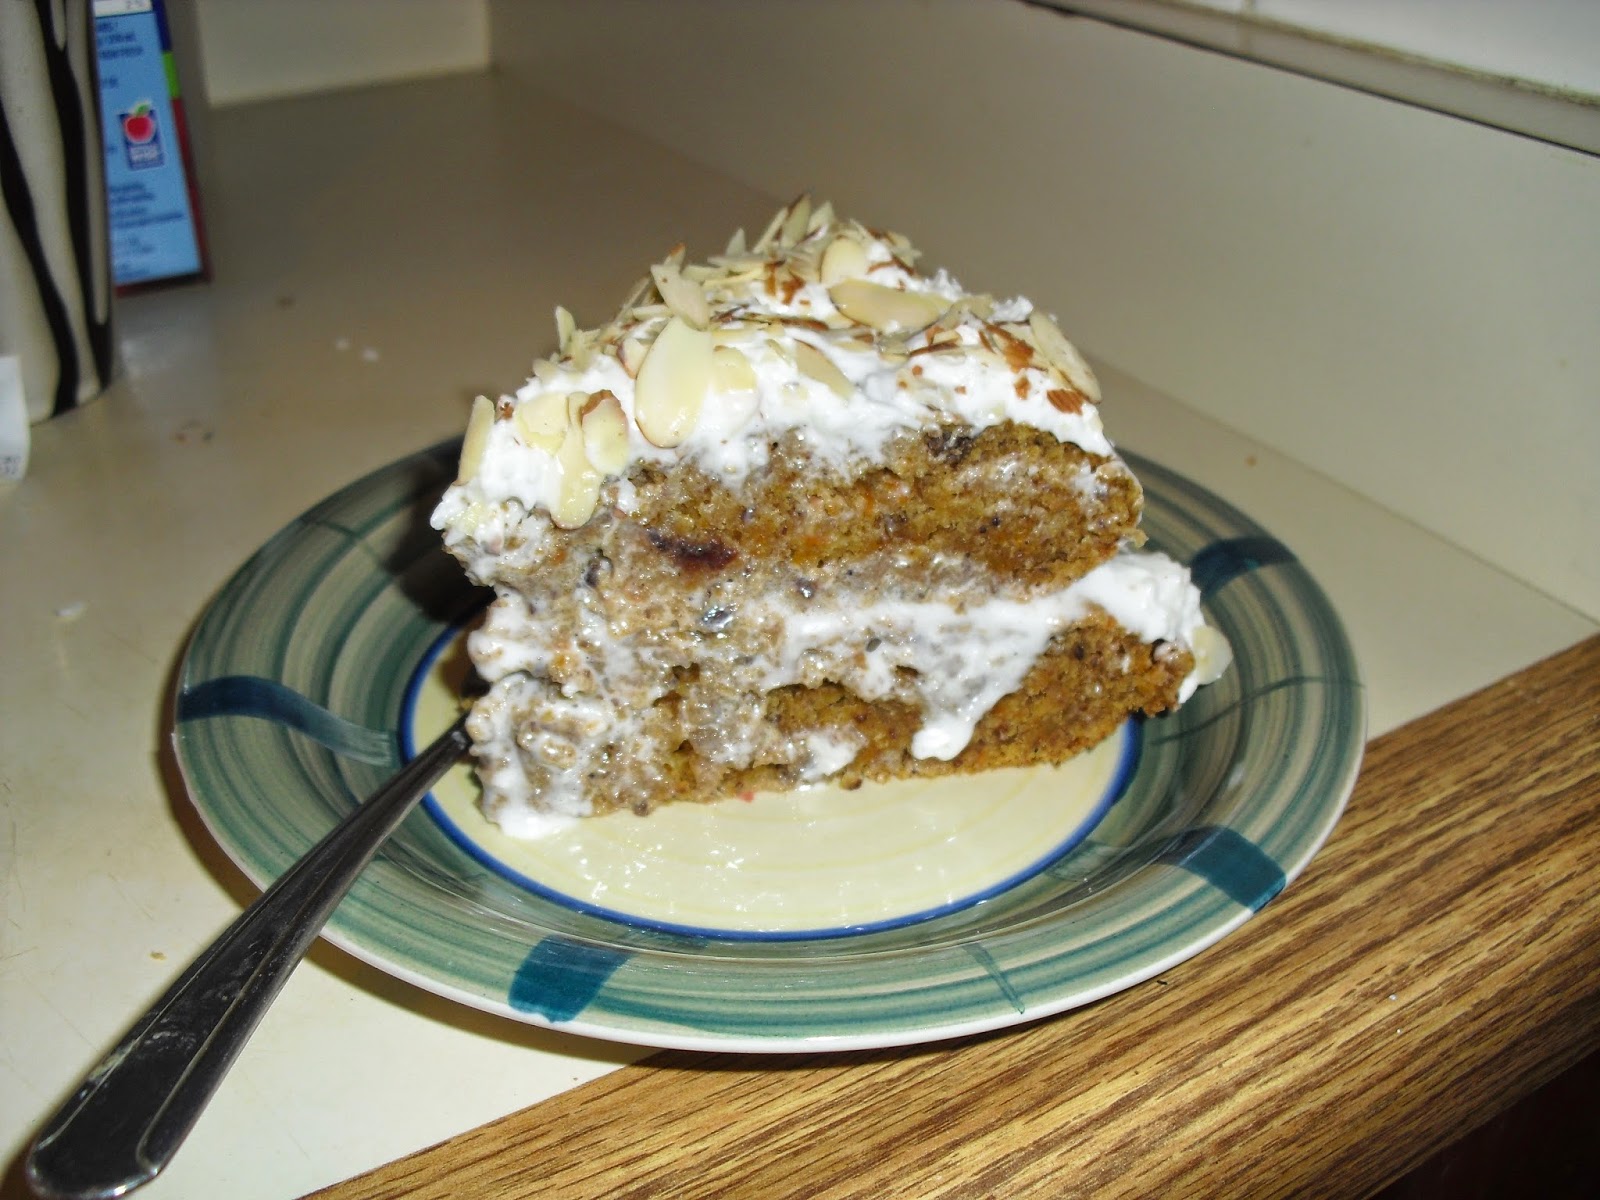
I decorated my cakes with cut almonds, walnuts, strawberries and shredded carrot. Coconut or raisins would be amazing too. Get creative and make them look pretty thats the best part:)